
 by the Frugirls of FrugElegance
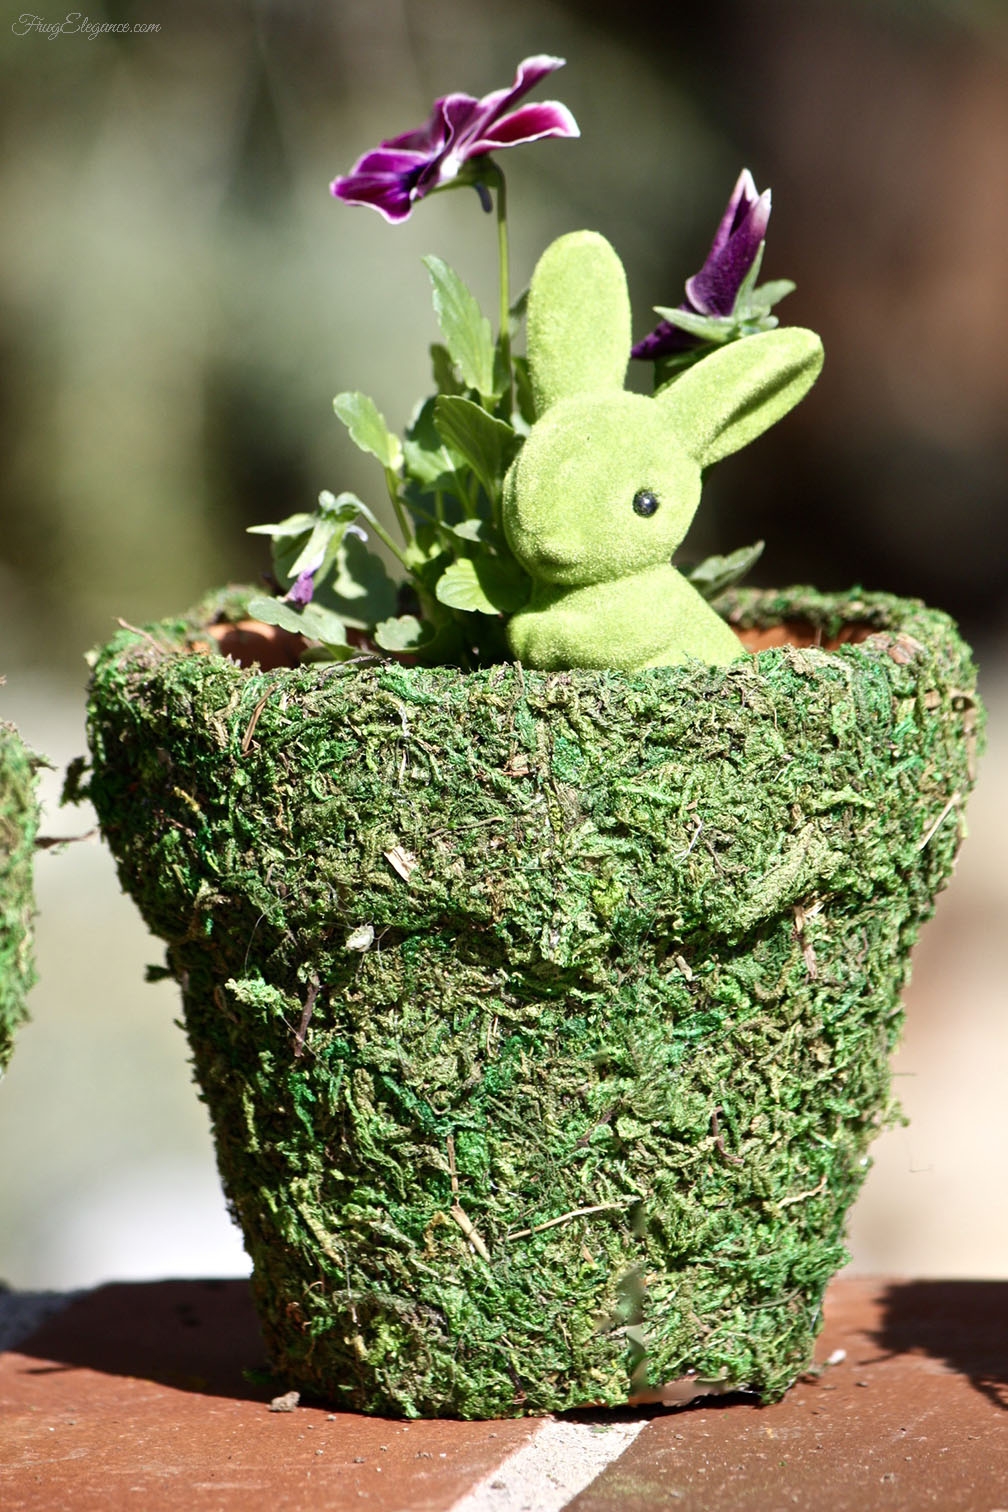
 We wanted to add some spring beauty to our table with moss covered pots but the selection out there has been either too expensive or poor quality. That’s the perfect FrugElegant challenge and we think we hit a home run!
Have you taken notice of how popular moss covered decor is right now? The stores are all carrying it. This spring, from high end to discount stores, the moss-covered decor is hot, hot, hot! Do you like the website Pinterest? Type in the search box “Spring Decor Moss Covered” and see the page full of moss-covered bunnies, baskets, eggs, birds, letters, wreaths & so much more.
Supplies Needed: three small 4″ ceramic pots and one package of artificial moss sheets, a little soil, small spring plants, scissors and a glue gun. We prefer to use a glue gun because the glue dries in seconds. But use it with caution, because it’s hot. Also, you can vary this project to your preferences, size of pots and style of moss and flowers, etc. We purchased the moss at our local craft store and the ceramic pots at the local hardware store.
Here’s a quick tip for shopping at your local craft stores, 20-50% off coupons are available online for just about every store. Michael’s will even accept competitors’ coupons as long as they have a valid expiration date. We used a Hobby Lobby online coupon for 40% off for a large roll moss since we have a few more projects coming up.
- We cut a strip of moss, from the roll, that will fit the height of the ceramic pot. Glue one side to hold in place and wrap around the pot. Cut excess moss and glue, and then attach the moss around the top rim of the pot.
- Our ceramic pot had a lip at the top, so we needed to cut some of the moss so that it would lie smoothly onto the pots form. If the cuts weren’t made, you can get buckling spots.

- Consider this when gluing the edges. Moss has some areas that can stretch slightly, so we make our edges uneven around the edges of the pot. Perfectly imperfect. With some ceramic showing, it looks like the moss is growing onto the pot.
- Next, fill with soil and a small plant.
 There you have it, a perfect spring decor for your table, mantle, party centerpieces and so much more.
We also have many more FrugElegant DIY spring decor projects and recipes. Have you tried our Spring Hummingbird cake recipe? Visit us at our blog www.frugelegance.com.